Showing posts with label cake. Show all posts

Sunday, November 4, 2012

How to Keep Cake Crumbs out of Your Icing

Having problems keeping your cake crumbs out of your icing? I always wondered how the pros did it. One day I stumbled on the "dirty ice" method by accident. Actually, I didn't even know it was called that until watching an episode of Cake Boss. Basically, in order to keep cake crumbs from showing through your icing, you need to ice the cake with a thin layer of icing to "catch" all the crumbs. 

Before putting on any icing, lightly brush any loose crumbs from the cake. Then take a small amount of your regular icing and thin it out a bit with a little extra water. Thin icing spreads easily. Thicker icing will drag across the surface of your cake and create more crumbs than necessary.

As demonstrated in this picture, you'll still see cake crumbs in the frosting, but this is only your first layer.

Next, let the "dirty" layer set. Depending on the humidity in your home, this may take an hour or two. The icing should "crust" a little so that the crumbs remain caught in it. Once it's set, you can smooth a second layer of icing on the cake.


See? Much smoother and you don't see all those chocolate cake crumbs. :)

If you want to see how this cake looked in the end, check out this post.

Sunday, October 21, 2012

Muppet Baby Shower Cake for a Science Teacher

When I told one of my sisters-in-law my idea for this baby shower cake, she looked at me with a raised eyebrow as if I were crazy. 

However, cake baking is a lot like writing: you've got to know your audience. This would not have been the right baby shower cake for any of my sisters-in-law. However, this cake wasn't for them. It was for the male science teacher at my school. I'll admit I was a little worried about what his wife would think, but it turns out she's an elementary school teacher and enjoys the Muppets, too.

I got one of the best compliments ever on this cake. The day after the shower, the science teacher told me it reminded him of the cakes from Jarosch Bakery. If you're not familiar with this bakery, let's just say this is a high compliment indeed!

Muppet Baby Shower Cake
(Congratulations on your latest creation!)


To make this cake, I stacked two 9x13 chocolate cakes on top of one another and used a raspberry mouse filling (see basic recipe here).

Then I used the frozen buttercream transfer method for the design. Here's a quick recap.

First, find a picture of your chosen image. I find coloring books, greeting cards, and the internet very helpful.

Next, flip your picture over so that you're looking at the reverse side and trace over the pattern with a black marker. You'll want the reverse side because you'll be flipping it over onto your cake later.

Tape the picture onto a cookie sheet (or other flat surface). Tape a sheet of waxed paper over this. With black icing and a small decorating tip (#4 or #5 is fine), outline the entire picture.

Using colored icing and more small tips, fill in the outline until you've covered every bit of the image.

Fill a decorating bag with whatever color icing you will use for the background. In this case, I used white. Pipe a layer of this icing over the entire image.

Freeze for several hours or overnight. After you've baked, cooled, and iced your cake, take your decoration out of the freezer. Flip it onto the cake and carefully peel off the waxed paper.

I must have used some pretty strong colors on this cake because the icing left a nice ghostly image on the waxed paper after I pulled it off. Kind of cool, huh?


After you've moved your frozen buttercream transfer, you can add writing and borders to your cake. I also piped a series of small dots around the edge of the image to make it look a little like a picture frame.


My favorite part of this design is that it looks a little like Beaker is horrified at the idea of having a baby, and Bunsen is laughing over what the expecting couple has to look forward to. :) All in good fun, my friends, all in good Muppet fun.

The next day I received a lovely thank you card from the science teacher. He even used a card created by his very talented mother. Isn't this a lovely fall card she made?

Sunday, October 7, 2012

Lemon Coconut Cake

I made this for a work party, and it turned out really yummy. Two of my coworkers said they dreamed about it afterwards. Definitely on the "keep this recipe" list.


Lemon Coconut Cake

Ingredients for cake:
one Duncan Hines Lemon Supreme cake mix
1-1/3 cups water
1/3 cup vegetable oil
3 large eggs

Ingredients for lemon filling:
2 tablespoons cornstarch
1/4 cup water
2 eggs
1/2 teaspoon lemon zest
1 tablespoon lemon juice
1-1/4 cup sugar
3/4 cup water
6 tablespoons butter
shredded coconut (optional)

Ingredients for icing:
1/2 cup butter
2 cups powdered sugar
1/2 teaspoon zest
5 tablespoons lemon juice
about two cups shredded coconut

Bake the cake according to package directions. However, if you want to torte it into three layers as I did, you can either bake it in three eight-inch cake pans or use one 8x3-inch cake pan. I used an 8x3-inch cake pan that Wilton makes. The cake took about 55 minutes to bake, and then I used my cake leveler to split it into three layers.

As your cake cools, make the lemon filling. In a small bowl, blend two tablespoons cornstarch with 1/4 cup water until the cornstarch is dissolved. Whisk in 2 eggs until blended. Set aside.

In a medium saucepan, combine 1/2 teaspoon lemon zest, 1 tablespoon lemon juice, 1-1/4 cup sugar, 3/4 cup water, and 6 tablespoons butter. Bring to a boil. Whisk in the egg and cornstarch mixture and return to a boil. Continue whisking and boiling until mixture is thick. Remove from heat and cover with plastic wrap.

At this point, your cake should be cool enough to cut into layers if you chose to use the 8x3-inch pan instead of three separate eight-inch pans. When the filling has cooled, spread half of it onto the bottom layer. Sprinkle with some shredded coconut, if desired. 

 Place the middle layer on top, and spread it with the second half of the filling and more coconut. Add the final layer of cake on top.

To make the icing, beat 1/2 cup butter until smooth. Add two cups of powdered sugar, 1/2 teaspoon lemon zest and 5 tablespoons lemon juice. Beat until smooth. Ice the cake and cover with a layer of shredded coconut.


Sunday, September 9, 2012

Another Dora Birthday Cake

What can I say? My friend's daughter really likes Dora, so this is her second Dora birthday cake in a row. To see last year's, check out this post. Since this year's cake needed to be a small 8-inch one, I decided just to do Dora's face and used a frozen buttercream transfer.

Dora Birthday Cake
 
Luckily, I still had my Dora face pattern from a previous cake. I taped this to a cookie sheet and then taped waxed paper over it.

Then I outlined her face using the dark chocolate icing I was used for her hair. After outlining it, I can began to fill in all the features until I had a solid decoration.

Next, I covered the entire pattern by piping white icing over everything. The cookie sheet went into the freezer to solidify over night.

The next morning, I baked and iced the cake. The Dora face was turned upside down onto the cake, and the wax paper was peeled off. I used a star tip for a swirly border on top and shells along the bottom.

Since Dora is about five shades of brown, I decided the cake needed a bit more color. So I used some purple icing to make little star flowers with yellow centers. I froze these for a bit and then pressed them into the side of the cake with a dab of icing as "glue."

Sunday, July 1, 2012

Minnie Mouse Birthday Cake

Last week, I had the rare opportunity to make a birthday cake for my two-year-old niece who lives in Atlanta. My brother had a work conference in Chicago, so the whole family came up to visit. My niece's actual birthday isn't until tomorrow, but we had to get in the celebration while we could!

Minnie Mouse Birthday Cake

The idea for the design came from the birthday card I had bought. Minnie sure looks cute here, and the design is relatively simple, which meant time for a frozen buttercream transfer!

I did a whole post on buttercream transfer here, but this is a quick run-down of the process for you. First, I traced the design from the birthday card onto some parchment paper. Then I flipped the parchment paper over so that I'd be working the reverse image. After making sure the outline was dark enough, I taped it to a cookie sheet and then taped a piece of waxed paper over the parchment paper.

Using black icing, I outlined the entire design. Then I filled in the spaces using the appropriate color icing. (I used the available piping tips that I had, like #3, 4, and 5.)

Once I had the design filled in, I covered the whole thing with a layer of white icing that I piped on top of the colors. Then I placed the cookie sheet into the freezer over night.

After I baked and iced the cake, I took the buttercream transfer out of the freezer and carefully flipped it onto the cake before peeling off the waxed paper. I finished the decoration by adding the writing and the border. Voila! The perfect birthday cake for a two-year-old.

Saturday, February 25, 2012

Cranberry Upside-Down Cake

I found this recipe in Parade Magazine. You can also see it here. Although my version turned out to be a slightly flatter cake, it still tasted awesome. This will definitely be made again--probably during the holidays. It works as either a dessert or a brunch-time coffeecake.

Cranberry Upside-Down Cake

Ingredients for cake:
1-1/2 cup fresh cranberries
2 tablespoons chopped walnuts
1 teaspoon grated orange peel
1/2 cup butter, softened and divided
1/2 cup packed brown sugar
2 tablespoons orange juice
1/4 teaspoon cinnamon
1-1/2 cups flour
1/2 teaspoon salt
1 teaspoon baking powder
1 cup sugar
1 teaspoon vanilla
1 egg
1/2 cup buttermilk

Ingredients for glaze:
1 cup powdered sugar
1 teaspoon melted butter
2 tablespoons orange juice

Preheat oven to 350 degrees. Spray a 9-inch cake pan with cooking spray and flour lightly.

In a small bowl, combine cranberries, walnuts, and orange peel.

In a small saucepan, melt 2 tablespoons butter over medium heat. Add brown sugar, orange juice, and cinnamon. Cook for 3 minutes, stirring constantly. Pour into prepared pan. Sprinkle with cranberry and nut mixture.

Whisk flour, salt, and baking powder in a medium bowl.

In a large mixing bowl, beat sugar and remaining butter until creamy. Add vanilla, egg, buttermilk, and flour mixture. Spoon over cranberries.

Bake 40 minutes or until toothpick comes out clean. Cool in pan for 5 minutes before inverting onto pan. Beat glaze ingredients and drizzle over cake.

Sunday, February 19, 2012

Frozen Buttercream Transfer

This cake was my first attempt at doing a frozen buttercream transfer. Usually, this method is used to create a character image that is later transferred onto a cake. I was making a birthday cake for a friend, and I wanted it to have a three-dimensional "picture frame" feel to it. Since buttercream transfers are rather thick and naturally stand out from the cake, I decided to use this method for the frame part of my decoration.

I'll give a brief description of what I did, but the best explanation I found for how to do a frozen buttercream transfer is on the Wilton website.

Frozen Buttercream Transfer

Supplies:
Buttercream Icing (recipe here)
Waxed paper
Desired design outlined on paper
Cookie sheet or flat board
Decorating bags and tips

To start, you'll need your design outlined on a piece of paper. For this cake, I measured the width and length of the picture frame I wanted. If you're doing a character for your cake, you'll want the reverse image (just flip over what you've drawn and trace it).

Tape the waxed paper down over your drawing. I taped both the drawing and the waxed paper to a cookie sheet so that I could easily move it all to the freezer later.

Take a decorating bag filled with your outline color and trace your design. Since I simply wanted the picture frame to be brown, I outlined with chocolate buttercream icing.
Then fill in your design using a tip like #4 or #5. Be sure to really fill in every corner since you want your transfer to be solid. You can smooth it with a spatula.

Once you've completely filled in your design, fill another decorating bag with icing the same color as the background of your cake. My cake was going to have a white background, so I used white icing. Outline and fill the entire design with your background color.
Place your sheet in the freezer for at least ninety minutes or overnight.

After icing your cake, pull the transfer out of the freezer. Quickly, flip it onto your cake and peel of the waxed paper. Finish decorating your cake with borders, lettering, or whatever else you desire.

Sunday, December 11, 2011

Chocolate Candy Cane Cake

I adapted this recipe from the Kraft website. The original version had candy canes in the cake itself. I was worried about the cake ending up crunchy. They also suggested using cool whip for the icing. I used buttercream icing with peppermint extract.

The cake was made to celebrate a special occasion at work, so I didn't add the crushed candy cane decorations until it was time to serve it. Unfortunately, I forgot my camera, so the only photo I have is one of the last piece that was left and I was able to take home. (Update: a co-worker has sent me a photo she took with her phone--I've added it to the end.)

Chocolate Candy Cane Cake

Ingredients for cake:
1 Devil's Food cake mix
1 instant chocolate pudding packet
8 oz. sour cream
4 eggs
1/2 cup oil
1/2 cup water
1/2 cup chocolate chips

Ingredients for icing and decorating:
1/2 cup solid vegetable shortening (e.g. Crisco)
1/2 cup margarine
1/2 teaspoon vanilla
1/4 teaspoon peppermint extract
2 tablespoons water
4 cups powdered sugar
about eight small candy canes, crushed

To make the cake, preheat the oven to 350 degrees and spray cake pans with cooking spray. In a mixer, beat the first six ingredients until thoroughly blended. Stir in the chocolate chips. Pour into prepared cake pans and bake for 35-40 minutes or until toothpick inserted in center comes out clean.

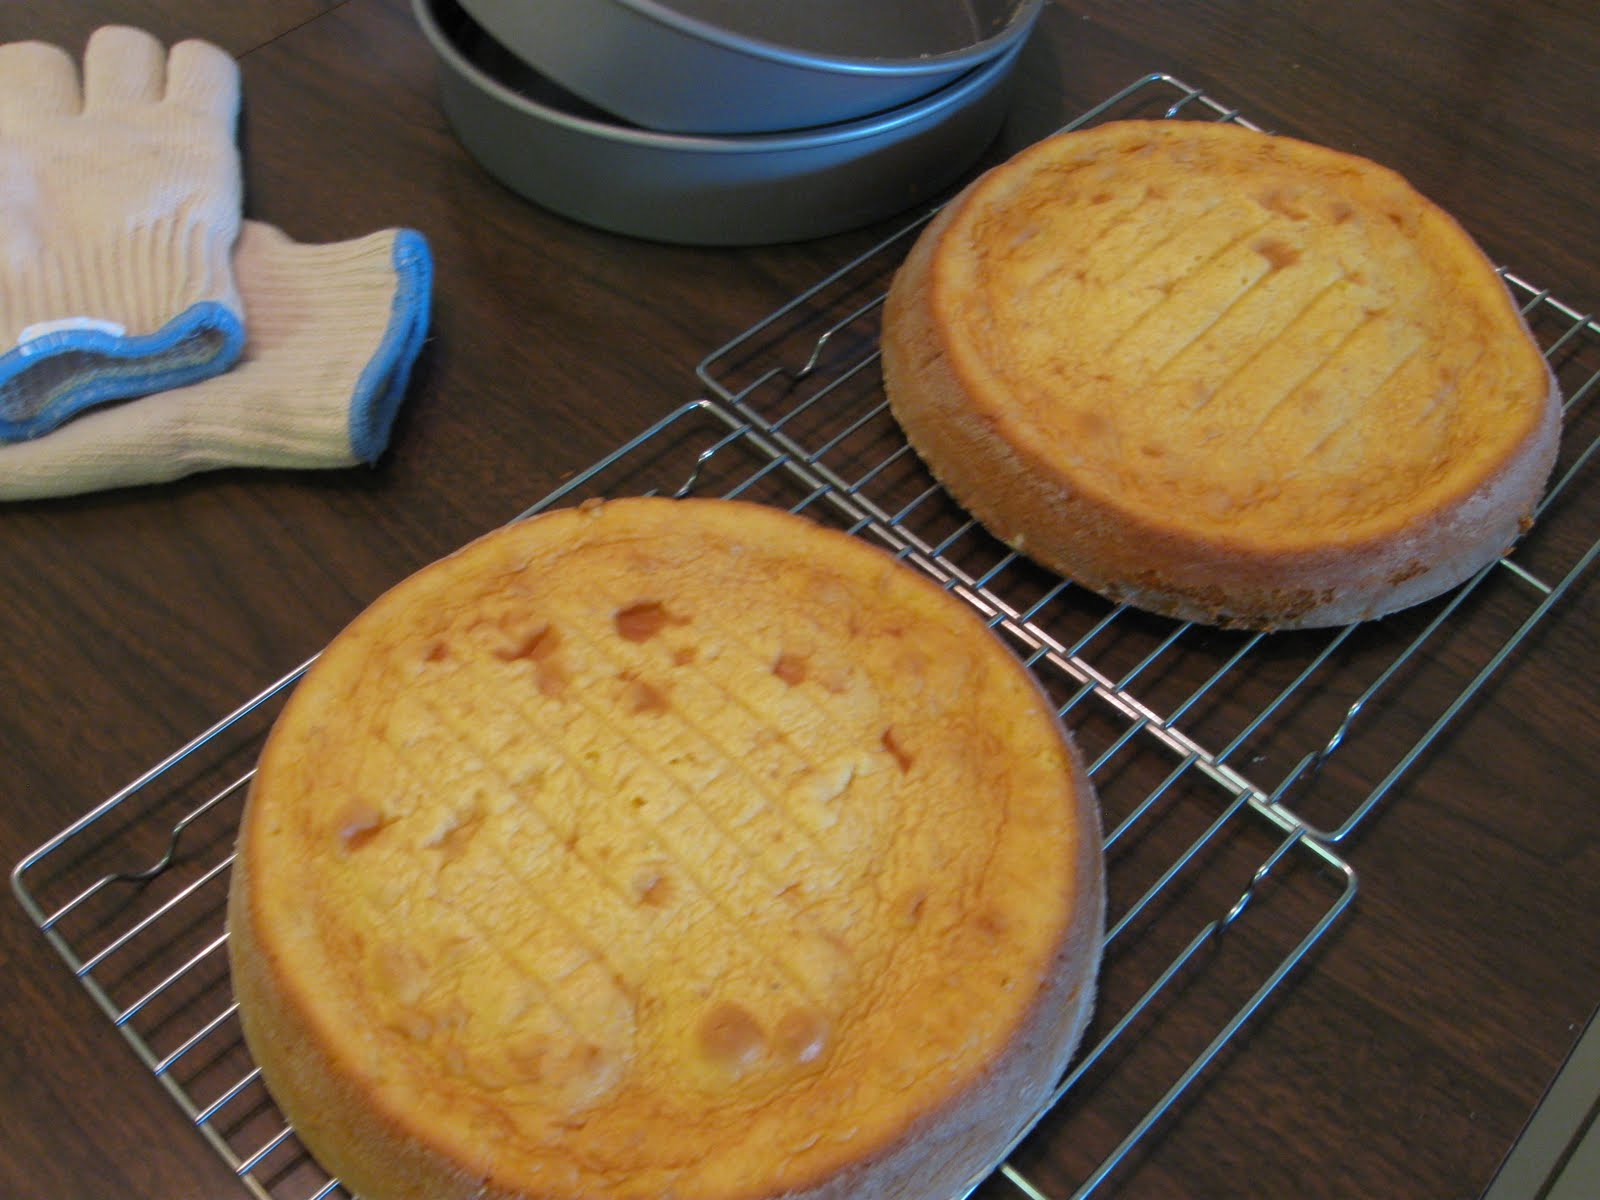
Cool for 10 minutes before inverting onto wire racks.

Once cake has cooled completely, make the icing by beating together the vegetable shortening, margarine, vanilla, peppermint extract, and water. Gradually add powdered sugar and beat until smooth.

To decorate the cake, I first iced the bottom layer and sprinkled a few crushed candy canes on top. Then I placed the second layer on top and iced the entire cake. The final candy cane decorations were not added until just before serving because I didn't want them to bleed into the icing.

Sunday, October 9, 2011

Wedding Cake


I didn't make this wedding cake, but I couldn't help but post the photo. The cake is from my friends' wedding this weekend. It was a lovely cake, a beautiful ceremony, and a fun evening!

I'll be back tomorrow with a new cookie recipe.

Sunday, September 25, 2011

Cinnamon Crumb Coffee Cake

I made this for a party at work a couple weeks ago. It disappeared even faster than the Black Forest Gateau, even though it came out a little more "done" than I would have liked. If I make it again I'm going to watch the baking time very carefully.

Cinnamon Crumb Coffee Cake

Ingredients:
1 cup brown sugar
2 1/2 teaspoons ground cinnamon
4 tablespoons cold butter
2/3 cup chopped walnuts
1/2 cup butter, room temperature
1/4 cup sugar
3 eggs
2 cups flour
1 teaspoon baking soda
1 teaspoon baking powder
1 cup sour cream


Line the bottom of a 9-inch square pan with wax paper. Spray paper and sides with cooking spray. Preheat oven to 350.

In a small bowl, prepare the crumb filling and topping by mixing together the brown sugar and cinnamon. Cut 4 tablespoons of cold butter into small pieces and then mix into sugar and cinnamon using a pastry blender. Add the walnuts. Set aside.

In a large mixer bowl, cream the butter and sugar until light and fluffy. Add the eggs, beating well after each addition.

In a medium bowl, mix together the flour, baking soda, and baking powder. Alternate adding flour mixture and sour cream to the butter, eggs, and sugar.

Pour half of butter into prepared pan. Sprinkle with cinnamon and sugar mixture. Top with remaining batter and then remaining cinnamon and sugar mixture.

Bake 50-60 minutes. Let stand in pan for 5 minutes before removing from pan.

Sunday, September 18, 2011

Black Forest Gateau

When I saw this recipe in a cookbook, I had to look up the word "gateau." (French words and I just don't get along.) It turns out that "gateau" simply means "fancy cake." I guess that's fitting for this cake.

I love black forest cake, and someday I'll have to post my high school German teacher's super easy recipe for black forest cake. (It's truly a cake, and not a fancy "gateau.")

Here is my version of the Black Forest Gateau.

Black Forest Gateau

Ingredients:
5 eggs
1 cup sugar
1/2 cup flour
1/2 cup cocoa
6 tablespoons butter, melted
15-ounce can of dark sweet cherries, pitted
2-1/2 cups heavy cream
2 tablespoons powdered sugar
4 tablespoons kirsch/cherry brandy (optional)
a few maraschino cherries with stems (optional)
chocolate sprinkles (optional)

Cut a piece of wax paper into 2 circles to match the bottom of two 8-inch cake pans. Place a wax paper circle on the bottom of each pan and then spray the pans with cooking spray.

Preheat the oven to 350 degrees.

In a mixer bowl, beat together the eggs and sugar for 10 minutes. Mixture should become thick and pale. Sift together the flour and cocoa. Fold gently into egg and sugar mixture. Melt the butter and fold in gradually.

Pour batter into cake pans. Bake for 30 minutes. Cake should spring back when touched lightly. Cool for 5 minutes and then turn onto wire rack. Peel off wax paper.

While cake is cooling, drain and chop cherries. Whip cream until soft peaks form. Add powdered sugar and incorporate into whipped cream. Take two-thirds of the cream and mix with chopped cherries.

Split each cooled cake horizontally. (If desired, you can sprinkle each layer with a tablespoon of cherry brandy.) Place one layer on cake plate. Spread one-third of cherry whipped cream on top. Place another layer on top. Spread with cherry whipped cream. Repeat one more time and then place finally layer on top.

Use reserved whipped cream to frost cake.

To achieve the decorated version in my photo. Place some of the plain whipped cream in a decorating bag with a star tip and make rosettes along the top and stars along the bottom. Drop chocolate sprinkles inside circle of rosettes. Make three large rosettes in center of cake and place a maraschino cherry in each rosette. Sift powdered sugar over top for frosted look.


Yields: about 16 servings

Sunday, September 11, 2011

How to Make a Dora Cake

Buying a character cake pan is always an option when your child wants their favorite cartoon character on their birthday cake. But what if you can't find that cake pan or you're worried that you'll spend $13 only to use the cake pan once because next year your child has a new favorite? This is when I use my old transfer technique!

Dora Birthday Cake

I found this photo of Dora online. Then I copied it into a Word document and made the picture big enough that it would cover most of a 9 x 13 pan. Then I used my transfer technique which you can find on this blog entry.

I did the best I could matching the colors and then added a couple buttercream flowers in the corners since I noticed Dora is often pictured with bright orange flowers around her. I used tip 2D to create the flowers on some waxed paper. Then I threw them in the freezer to harden for a few minutes. After I arranged them in the corners, I added a few silk leaves that I bought at the craft store.

Because there was little room to write "Happy Birthday," I decided to make it look like Dora was saying it. On a purple index card, I wrote the Happy Birthday message. I glued it to the back of another purple index card and taped a lollipop stick in between the two. Then I inserted the stick end into the cake so that the message would stand up.

Presto! A Dora birthday cake!

Thursday, June 9, 2011

Fudge Butterscotch Cake

This recipe is a variation of the Betty Crocker poke cakes. You can find many poke cake recipes here.

Fudge Butterscotch Cake

Ingredients:
1 German chocolate cake mix (plus eggs, oil, and water as specified by recipe on box)
1 can sweetened condensed milk
1 jar of fudge sundae topping
1 tub of Cool Whip, thawed
1 cup butterscotch chips

Bake the German chocolate cake in a 9x13 pan as directed on box. Allow to cool for twenty minutes. Then poke top of cake with end of wooden spoon. Holes should be about 1 inch apart.

Pour sweetened condensed milk over top of cake. Allow to soak in. Heat fudge topping and drizzle over top of cake. Refrigerate cake for two hours.

Spread thawed Cool Whip on top of cake and then sprinkle with butterscotch chips.

Sunday, May 8, 2011

Citrus Cream Cake

If you are seeing this blog post before 7:00 P.M. on May 8, 2011, you are seeing my mother's "Mother's Day" cake before she does. :)

The recipe comes from the Kraft food website. I made no real alterations to it. In place of the orange zest, I did use some fancy dried orange peel that my sister-in-law gave me for Christmas. Based on the directions on the orange peel, I used 1/3 of the recipe's original amount.

Citrus Cream Cake

Ingredients:
1 yellow cake mix
1 small package (3.4 oz) Lemon Instant Pudding
1 1/3 cups sour cream, divided
3/4 cup water
1/4 cup oil
3 eggs
2 tablespoons orange zest (or 2 teaspoons orange peel)
1/4 cup powdered sugar
1 tub (8 oz.) Cool Whip, thawed
1 can (11 oz.) mandarin oranges, drained

Preheat oven to 350 degrees. Grease and lightly flour two 9-inch cake pans.

Beat cake mix, dry pudding mix, 1 cup of sour cream, water, oil, eggs, and orange zest/peel in large mixer bowl for one minute on low speed. Then beat on medium speed for two minutes.

Pour into prepared pans and bake 25-30 minutes or until toothpick inserted in centers comes out clean. Cool in pans for 10 minutes. Then remove to wire racks to cool cakes completely.


Beat remaining sour cream (1/3 cup) and powdered sugar in large bowl with whisk until thoroughly blended. Stir in Cool Whip.

Place one layer of cake on cake plate or cake board. Spread half of Cool Whip mixture on top. Spread a little less than half of mandarin oranges on top.
Then place second layer on top and repeat with remaining Cool Whip mixture and mandarin oranges.


Keep refrigerated until ready to serve.

Sunday, April 3, 2011

Personal-Sized Yellow Cake from Scratch

For the Thomas the Train cake party (see below), I was also asked to bake a smaller cake for the one-year-old birthday boy. Not wanting to end up with a lot of leftover cupcakes, I decided to make the cake from scratch instead of using a fraction of a cake mix.

For the six-inch round cake, I had to do a lot of math to take the basic recipe I found down to size. Let's just say I'm really glad I learned my fractions back in school. :)


Personal-Sized Yellow Cake from Scratch

Ingredients:
1/4 cup butter, softened
1 egg
13 tablespoons + 1 teaspoon flour*
2/3 teaspoon baking powder
1/8 teaspoon salt
9 tablespoons + 1 teaspoon sugar
1/2 teaspoon vanilla
6 tablespoons + 1 teaspoon milk

*This is a little more than 2/3 cup flour if you don't want to do all the measuring.

Take out butter and egg about 30 minutes before starting.

Grease and flour your cake pan. Preheat oven to 375.

In a small bowl, mix together flour, baking powder, and salt. Set aside.

In mixer, beat softened butter for thirty seconds. Add sugar and beat for 2 minutes. Add egg and beat for another minute. Beat in vanilla.

Gradually add in flour and milk, alternating a bit of each at a time. Spread batter into prepared pan.

Bake at 375 for 20 minutes for a six-inch pan. Cake is done when toothpick inserted in center comes out clean.

Cool on rack for ten minutes before removing from pan. Cool completely before frosting.

Friday, April 1, 2011

Another Character Cake

If you missed the first character cake I did on this blog, check this entry.


This time I did a Thomas the Train cake for a friend's son.

I used the same technique of tracing and copying using piping gel as I did for the Elmo cake. Below is the pattern I followed for the Thomas drawing. Luckily, I had saved it from one of my nephew's cakes years ago. I think I sketched it off a Thomas toy I had bought for a gift.


Other character cakes I've done in the past:
  • Angelina Ballerina
  • Dora the Explorer
  • Big Bird
  • Bob the Builder
  • the Cars movie logo
  • Blues Clues

Sunday, January 23, 2011

Chocolate Layer Loaf Cake

The inspiration for this came from the Kraft foods website. The original recipe was for a cake roll. However, when I attempted it, I ended up with a mess that fell apart in my hands.

Now if you’ve followed my blog since last October, you know I’ve made one cake roll before (the Pumpkin Cake Roll), and that one turned out great. So when I had difficulty with this one, I went to the online reviews for the Kraft Chocolate Cake Roll. Although a lot of people said it tasted great, they also had problems rolling it.

So for attempt #2, I decided to forget rolling the cake. Instead, I layered it into a very yummy, chocolatey, loaf cake.

Chocolate Layer Loaf Cake


Ingredients:
6 squares semi-sweet chocolate
6 tablespoons butter
1 cup white sugar
4 eggs
1 cup flour, divided
1/2 teaspoon baking soda
2/3 cup water
4 oz. cream cheese, softened
3/4 cup powdered sugar, divided
3 cups of Cool Whip, thawed (You'll need to buy two tubs.)

Preheat oven to 350 degrees.
Spray a jelly roll pan (10 x 15) with cooking spray. Line the pan with waxed paper, and then spray it again.

Microwave three of the chocolate squares and the 6 tablespoons of butter in a medium bowl for 1½ minutes. Butter should be melted. Stir until chocolate is also melted and well blended. Add white sugar and mix until no lumps remain.

In large bowl, beat the four eggs about 3-4 minutes on high speed until thickened. (I recommend really making sure you have the eggs thickened before proceeding.) Beat in the chocolate mixture.

Add the baking soda and ¼ cup of the flour. Stir until thoroughly mixed. Then alternate adding in some of the water with the rest of the flour. Beat well after each addition. Spread evenly into prepared jelly roll pan.

Bake for 15-17 minutes or until cake springs back when touched lightly.

As soon as you’ve removed it from the oven, sprinkle it with ¼ cup of the powdered sugar. Place a piece of nonstick aluminum foil over the pan and immediately invert onto a cooling rack. Remove the pan and slowly peel off the wax paper. Allow cake to cool completely.

When the cake is cooled, cut into three equal pieces (about 10 x 5 inches).

In a medium bowl, beat the cream cheese and the remaining ½ cup of powdered sugar. Gently fold in 1½ cups Cool Whip.

Place one slice of cake onto your cake plate. Spread one half of cream cheese mixture evenly onto cake. Place second slice on top. Spread remaining filling on this layer. Set final cake piece on top.

In medium bowl, microwave remaining three chocolate squares about 1½ minutes on high. Stir until chocolate is completely melted. Fold in 1½ cups Cool Whip until thoroughly blended. Frost top and sides of cake evenly.

Sunday, January 2, 2011

King Cake

I made this for a New Year's Eve party, but many people make it for Three Kings' Day or Mardi Gras. From the research I did online, most people hide a plastic baby in the cake. Whoever finds the baby receives good luck, becomes king or queen for the day, and/or has to throw the next party.

I found the plastic baby in the baby shower department of a craft store. They come six in a pack, so I guess I can still make plenty of King Cakes.

King Cake

Ingredients for cake:
1/2 cup milk
2 tablespoons butter
1 package active dry yeast
1/3 cup warm water (110-115 degrees)
1 1/2 teaspoons white sugar
4 tablespoons white sugar (these two amounts are used separately)
1 egg
3/4 teaspoons salt
1/4 teaspoon nutmeg
2 3/4 cups flour

Ingredients for filling:
1/2 cup packed brown sugar
2 tablespoons cinnamon
1/4 teaspoon nutmeg
1/4 cup flour
1/4 cup raisins
1/3 cup pecan chips (or chopped pecans)
2 tablespoons melted butter

Ingredients for icing:
2 cups powdered sugar
2 tablespoons softened butter or margarine
1/2 teaspoon vanilla
2-3 tablespoons milk

Heat the milk over medium-high heat until small bubbles form around the edge. Do not let it get to a full boiling. Remove from heat and stir in the 2 tablespoons of butter. Set the mixture aside to cool to room temperature.

Warm 1/3 cup water to 110-115 degrees. If you get it too hot, just give it a minute to cool. Pour the water in a large bowl and dissolve the yeast with 1-1/2 teaspoons of white sugar. Let stand about ten minutes.

When the ten minutes are up, the yeast mixture should look dreamy and a little bubbly. Add the cooled milk mixture. Whisk in the egg. Stir in the 4 tablespoons of sugar, the salt, and the nutmeg.

Transfer this to a large mixer bowl and beat in the flour one cup at a time. When the dough is all combined, turn in out onto a lightly floured surface. Knead it for 8-10 minutes. The dough should be smooth and elastic.

Place the dough in a lightly oiled large bowl. Turn the dough over once so that is it coated in the oil. Cover the bowl with plastic wrap and let it rise in a warm place for two hours. The dough should double in size.

After the two hours is over, punch the dough down. Then roll it out to a large rectangle, about 10 x 16 inches.

In a small bowl, combine the ingredients for the filling. Mixture should be rather crumbly. Sprinkle the filling over the rolled-out dough. Then roll like a jelly roll, starting at the wide side. Bring the ends together to form an oval shape.

Place the ring on a cookie sheet that has been greased or lined with parchment paper. Let is rise for 45 minutes.

Bake in 375 degree oven for 20 minutes. While the cake is baking, make the frosting by combining the ingredients listed above. After you take the cake out of the oven, push the doll into the bottom of the cake. Frost while warm. Sprinkle with green, purple, and yellow sugar crystals for that Mardi Gras look.